|
I've recently become interested in taking 360° x 180° spherical panoramas.
These are pictures that can be rotated in any direction. (Zooming in and out is also permitted.) Apple's free Quicktime player works well for this purpose. |

|
I'm actually interested in both handheld and tripod-based setups.
This blog entry will just cover using a tripod.
(The handheld part will come later.) Here are the components:
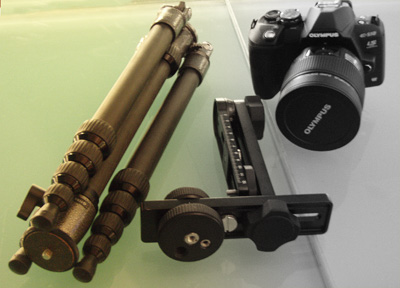
- A tripod. I use an ultralightweight carbon fiber/magnesium Gitzo 1155T (relevant blog entry).
Its compactness and light weight are big plusses for hiking. However, you can use any tripod. - A camera. I borrowed an Olympus E-510 DSLR from a friend. (Previous blog entry on the camera here.)
- A offset rotating bracket that places the axis of rotation around the entrance pupil of the lens to avoid parallax. The panohead I bought was the Nodal Ninja 3 Mk II. $200.
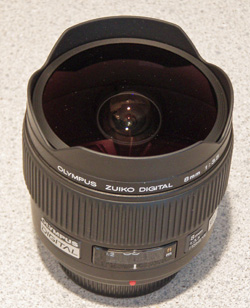
| Oh, I nearly forgot. I also bought an Olympus Digital Zuiko 8mm lens. $660. Weighs about 1lb. The most expensive component here. But this allows one to cover 360° of rotation comfortably in just 6 shots. |
|
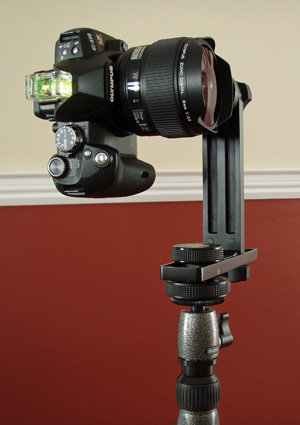
Assembled:
|
Although the camera is level here, I tilt to point the lens down nearly 15° when shooting for better coverage.
Rotate and shoot every 60°.
Add one zenith shot (for the ceiling). And zero or more nadir shots (for the floor). That's a total of 7 shots minimum. |
 |
- You can get fancier and rotate the camera as well to get the longest side, i.e. the diagonal, vertical. As a result, some people can get away with 4 shots but that's for another time when I describe the handheld setup.
- The number of nadir shots depends on how hard it is to patch the location of the tripod.
- Shoot aperture priority (i.e. fixed aperture), let shutter speed fall where it may. Let stitching software normalize exposure.
- Let autofocus do its job. A fisheye typically has a large depth of field. (I haven't measured this one.)
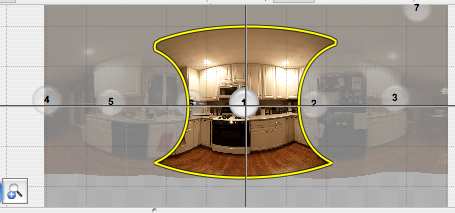
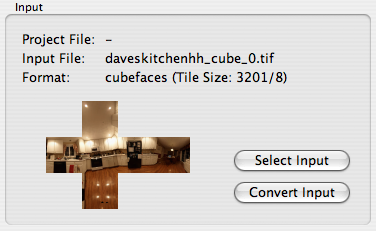
It produces equirectangular projections of the sort shown above. To prepare the image for Quicktime Player, I run it through pano2vr, which maps the image onto the six sides of a cube that the player needs:
Since I'm currently spending time at an architecturally distinguished building, I thought that'd make a good subject for my first panorama project.

See my webpage here for the pictures. Also see my more recent blog entry on panorama head setup.

No comments:
Post a Comment